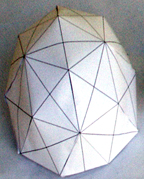
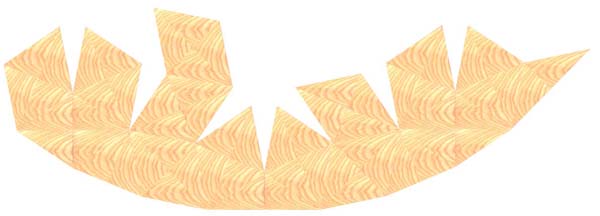
Here's a dome that does not need any math to make, and utilizes a
standard building material with no waste.
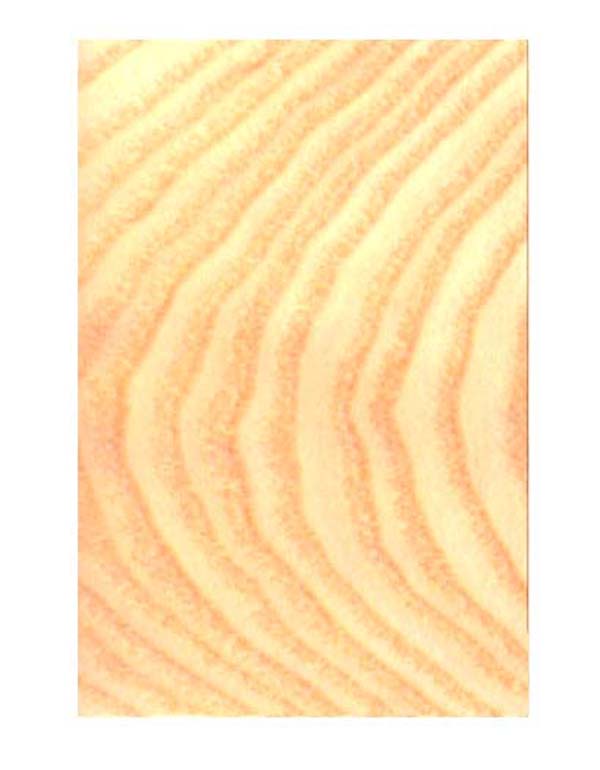
First, start with fifteen sheets of 4x12 plywood. Cut each sheet into
two 4x6 pieces.
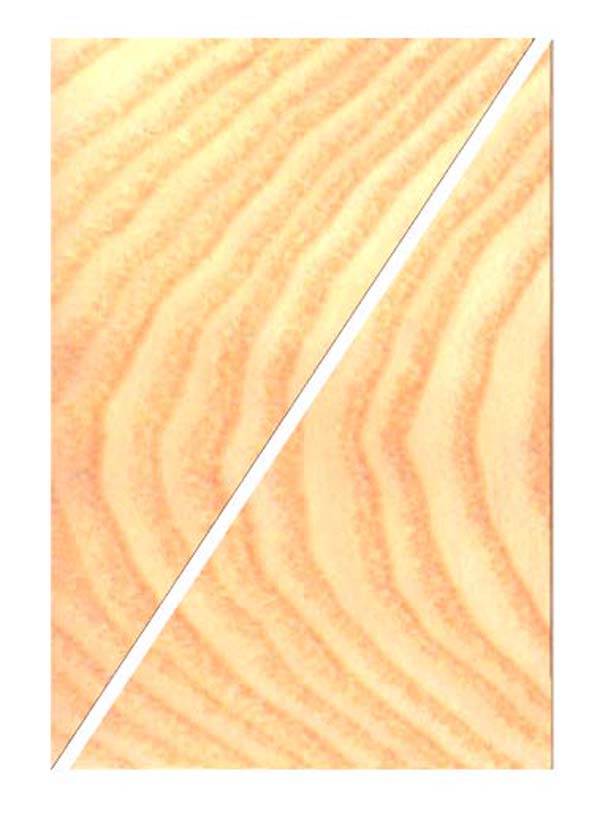
Cut each 4x6 sheet on a diagonal, giving you two 4'x6'x7.21' (7' 2.5")
triangles.
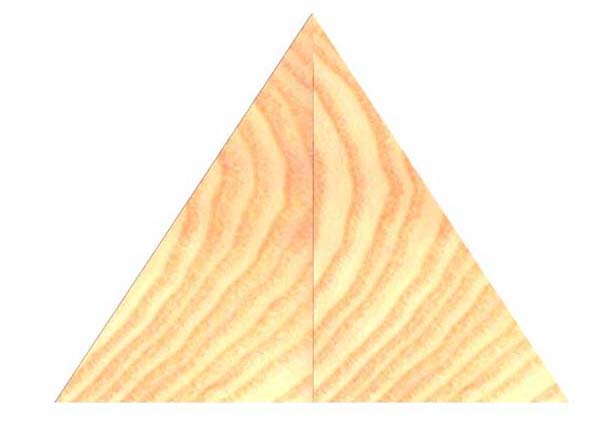
You'll have 60 identical triangles when you get done. Now to assemble
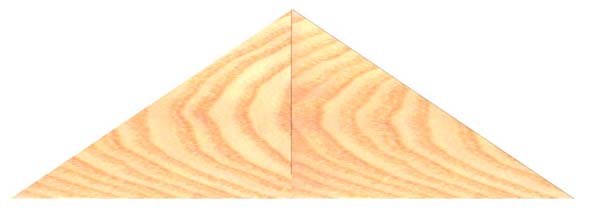
them - Join two triangles along the 6' edge, giving you
a larger 8'x7.21'x7.21' isosceles triangle. For joining use sheet metal
flashing that you can probably buy at the same store that has the
plywood. Screw or bolt it along both sides of the seam. This gives you
a flexible seam that lets you close the gaps during assembly. When this
is done properly and in the order of assembly shown in these
instructions you can end up with a raintight dome by overlapping the
flashing. .
During Assembly we'll call this a "short triangle". Make two of these
for the hemisphere. Next join two of the 4x6x7.21 triangles along the
4' edge.
During assembly we'll call this a "long triangle". Make two of these
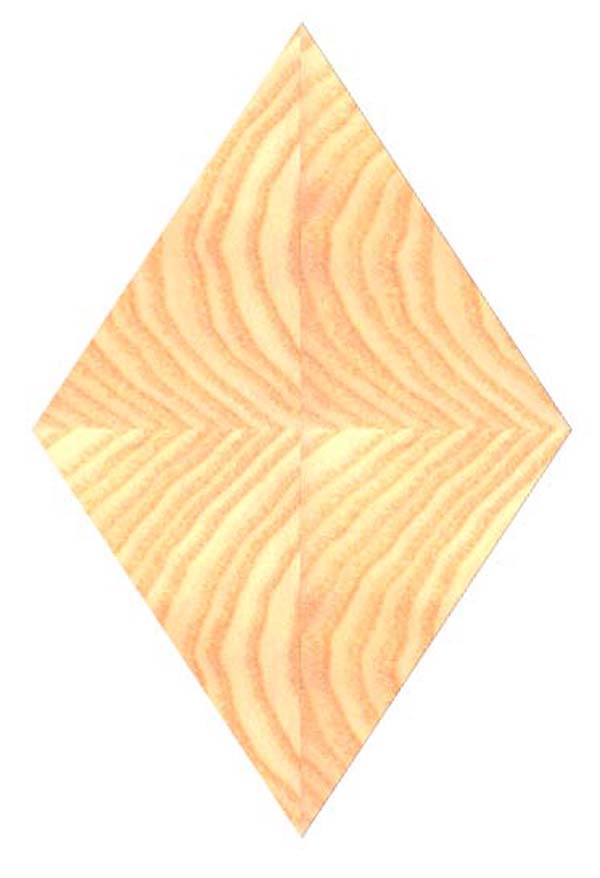
for the hemisphere. Next join four of the 4x6x7.21 triangles to make a
diamond.
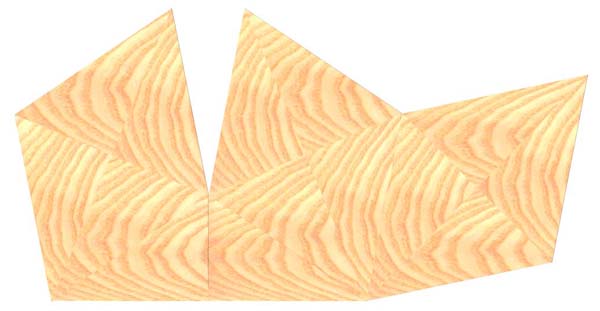
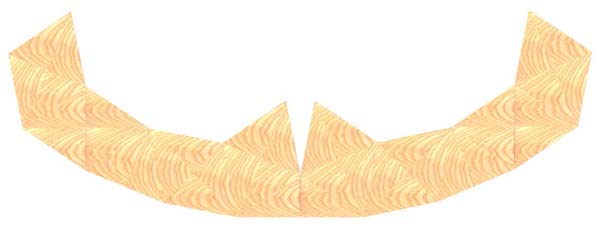
You'll need thirteen diamonds for the hemisphere. Start assembling the dome by placing a long triangle with
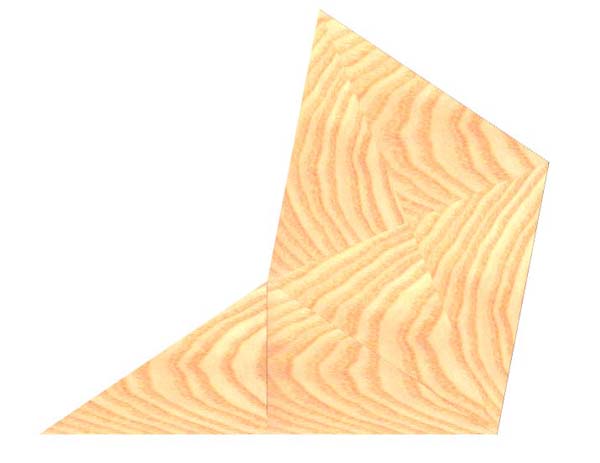
the 12' edge on the ground.
Attach a diamond on a 7.21' edge.
Attach another diamond on the other side of the long triangle.
While there is a gap shown in the illustration, in reality the gap will
close and you can attach the two diamonds together along that edge.Next
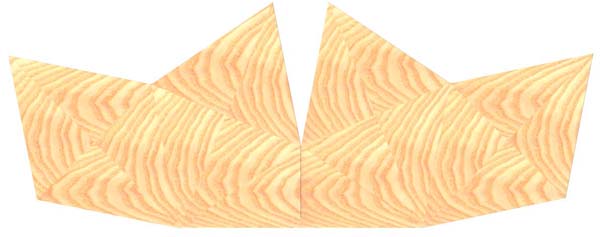
attach another diamond.
Attach another diamond.
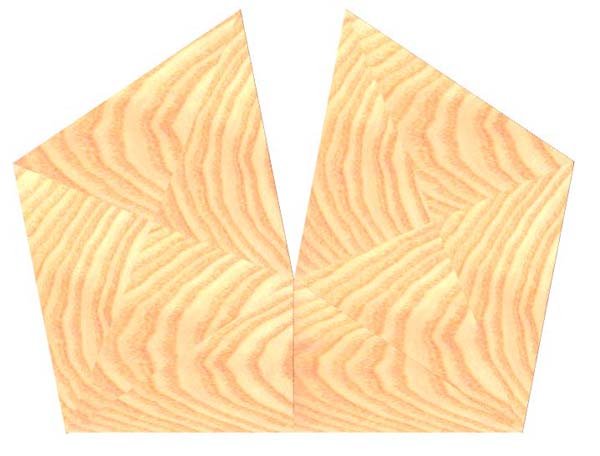
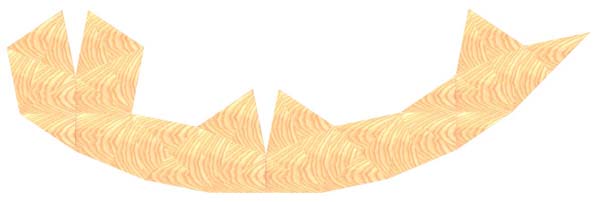
While the bottom edges appear to not be straight, in reality they are
curved on the circumference of your hemisphere. Now add a short
triangle.
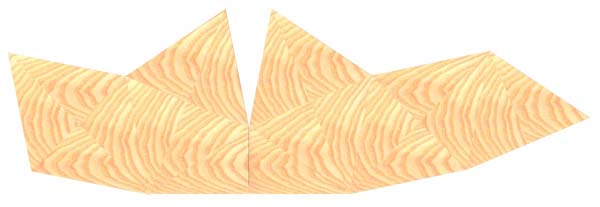
Attach the remaining short triangle.
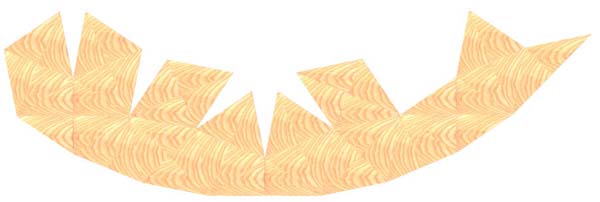
Attach another diamond.
Attach another diamond.
Remember that this is curving around the circumference of the dome. Add yet another diamond.
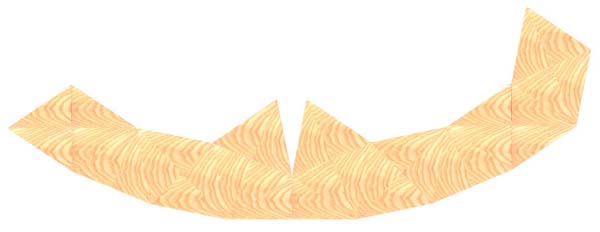
Now add the last diamond on the bottom ring.
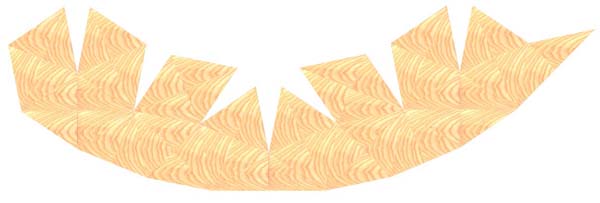
Next you add the second long triangle, to complete the circumference of the bottom ring.
The right edge of this diagram actually is attached to the left edge,
and the gaps between the diamonds are closed and attached. Add another
diamond to start the second ring.
Once again the gap shown is actually closed and the edges are attached. Add another diamond.
The gaps are closed and the edges attached. Add another diamond.
Close the gaps and attach the edges. Add the remaining diamond in the second row.
Close the gaps and attach the edges. Now the final diamond is added as the third row, completing the dome.
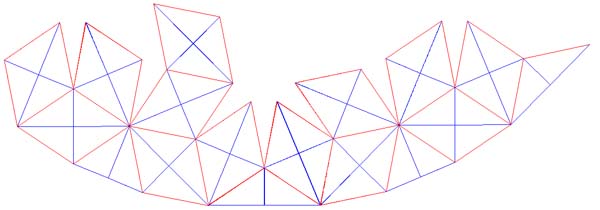
Remember that all the gaps shown are closed and all the edges are attached. Below is a line drawing showing the layout.
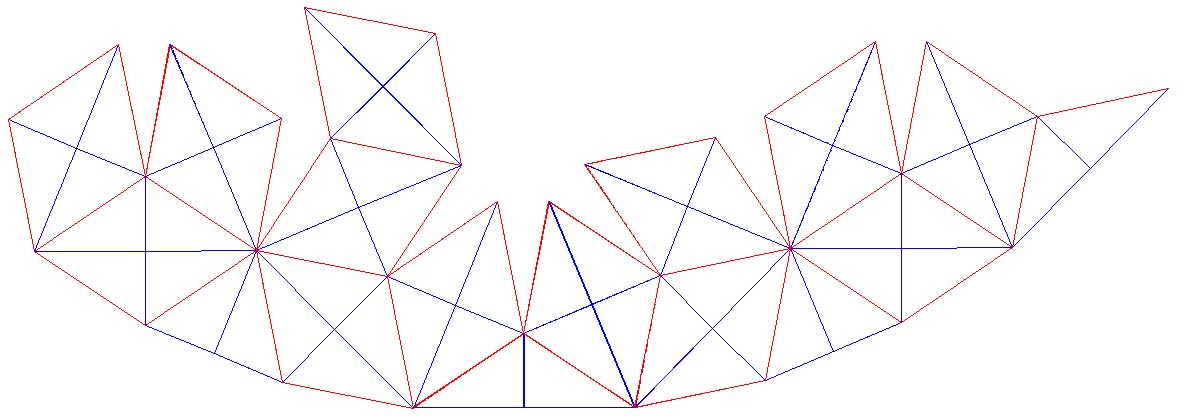
Below is a larger sixed line drawing of the layout. Note that you can
assemble the whole dome one triangle at a time, without making the
diamond and short/long trinagle modules. It's a bit harder to keep
track of what you are doing, but you have lighter pieces to work with.
While you can print out and assemble the above drawing, there is a better peel pattern in pdf format that you can download and print out for assembly.
Remember to have fun!
